
Awesome Ikea Basket Table Hack
Have you seen the Ikea basket table hack floating around? I found the perfect reason to try it out!

{Disclosure: The links below are affiliate links meaning if you purchase from the link, I will receive compensation at no additional cost to you.}
Recently I became the owner of a beautiful new Egg Chair that inspired me to finally finish my sunroom. It’s a work in progress, but I can’t wait to share it with y’all. Keep an eye out for a post on the finished look! While working on designing this room, I knew I really wanted a round coffee table. Since your girl just spent a small fortune on an egg chair, I decided to get creative with a table. I had an Ikea basket laying around that never really had a purpose and had remembered seeing this awesome hack, so I decided why not?!
This hack is so good and so simple.
What you need:
- SNIDAD rattan basket or really any basket that you love!
- 15″ Round Pine Board
- 24″ Round Pine Board
- 4 – Round Bun Feet
- Stain of your choice (I used Weathered Oak & Special Walnut)
- Orbital Sander
- E6000 Glue
- Washers & long screws
Let me start off by saying you don’t really need all of that, but hear me out! The basic version of this hack is to just flip the basket upside down and glue a round board to the top. Super simple. You could do it this way, but I found that it was just not tall enough for where I was wanting to put it. If you like the idea of this hack, but wish it was taller you are in the right place! Here’s how I did mine:
Step 1 – Take your basket handles off.

Grab your Ikea basket and take the handles off. This is actually pretty easy. Just unwrap the rattan from the handles, then pull them off. They are attached with staples, so you might need some pliers. Once you take the handles off you are ready to get started!

Step 2 – Stain your round pine boards.

Stain both round boards and all the feet. Staining was honestly the hardest part of this project for me. I still haven’t found the perfect color stain, so I had to do some experimenting. If you’re not picky like me, you’ll be fine! If you are, then I would test some colors out on one side of the smaller round. This side will be attached to the bigger board, so you’ll never see it. I ended up using one layer of Weathered Oak, one layer of Special Walnut, then I sanded it all down with 120 grit. After all my experimenting, and let me tell you it was a lot, I found this to be the best technique for the look I was going for. I really wanted a light, weathered looking stain.
Step 3 – Attach everything together!
Now listen, you could go the easy route and do the basic version of this hack, but I always have to be extra. If you want your coffee table a little taller, keep reading.
- Attach the feet to the basket with some washers, this is going to act as a pedestal for your table top.

- Center the small round board on top of the feet, then attach the screws through the board into the feet (this is why they need to be long).

- Put your E6000 glue on the small board, then center your bigger board on top.
- Flip your table over and put something heavy inside the basket. I used my plant, because that’s all I have around here and this pot was really heavy. Doing this will help keep the glue evenly distributed while it dries.

That’s it, now you have a super cute table!

What do y’all think of this Ikea basket table hack? Is it something that you would put in your own home? I love it because you could really use it for anything – a coffee table, a side table, a plant stand, etc. Plus it’s rattan and that automatically makes it a win. What more could you want out of a table?!
If you want to see more of my DIY projects, you can check them all out HERE!


You May Also Like
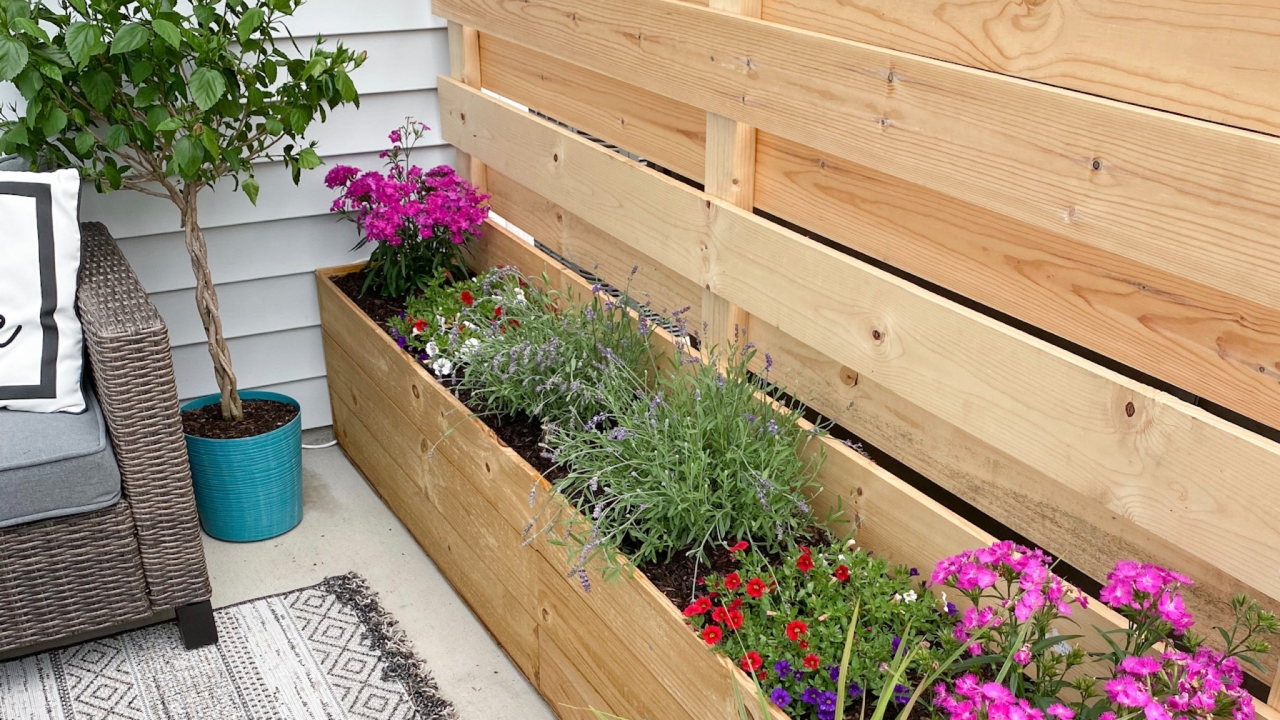
Flower Box with Privacy Wall for Your Patio
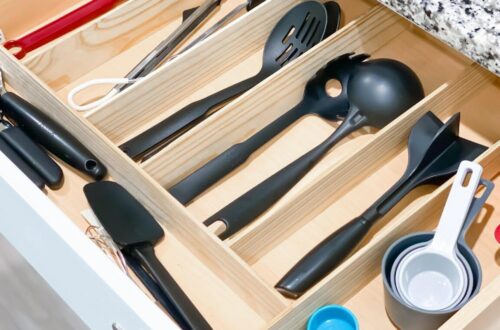
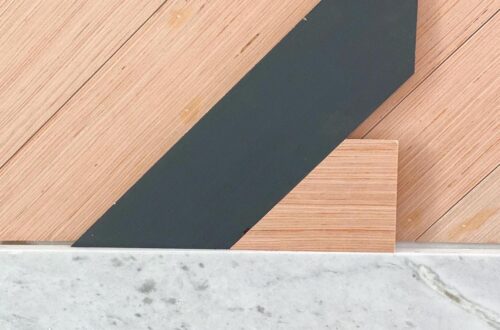
How to Customize and Make Your Own Drawer Dividers
This is an amazing hack!! TYSM for sharing. I can’t wait to try it.
Thanks so much. If you do, make sure to share a picture with me!!
It turned out perfect!! Love it with the chair!
Thank you. It’s perfect for this space, I can’t wait for it all to be done!
How about a lazy susan ring between the two wood pieces?
That’s a good idea! I might add that, thank you.
This is so awesome and I expensive!
Totally! Plus it was super fun to make!
I loved this so much you had me shopping for the table top!! now, if only my toddler wouldn’t climb on side tables…
lol. This table might not hold a toddler, but I think you should try it anyway!
Just came across this as we’re in need of a coffee table and love DIY’ing – this looks perfect! May I ask what size bun feet you used? The link took me to the round board. Thanks again for sharing!
Hey I don’t think the pieces you used to extend the height were shown, what exactly were they & where did you source them?